Archives

Christmas Pines Video

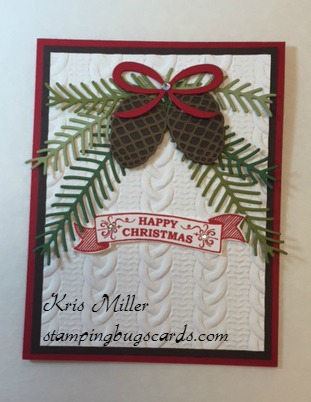
This card was made using the Christmas Pines bundle in the 2016 Stampin’ Up! Holiday Catalog.

pines-front2


I have been missing for a few months, but I’m back and hope to be able to bring you more videos! It’s really hard getting back into it as I’ve had to re-learn how to use the programs. There are so many amazing items in the Holiday catalog this year! I have so many ideas that I want to share with you. So, check back often for more videos coming soon.

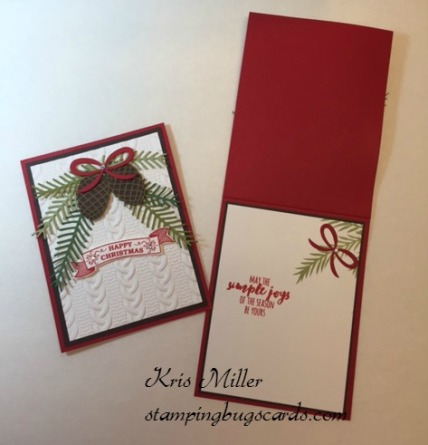
Inside of card:

pines-inside

All the items I’ve used in the video are listed below. If you have any questions, please feel free to contact me!

Product List

Thanks for stopping by!
name sig

Blue Embellished Ornament and Weekly Deals!

blue ornament

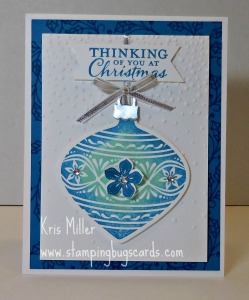
This week I found my inspiration in the Stampin’ Up! Holiday catalog. You can see the card on page 15. I love how this card turned out. It’s so fun to see how different my cards turn out from the one that got me inspired.  Check out my video to see how quick it can be to get a 2 tone effect.


Sizes:

Whisper White Card Base: 11 x 4 1/4″ Scored at 5 1/2

Pacific Point 5 1/4 x 4

Whisper White Card Stock: 4 3/4 x 3 1/2  and 3 1/2 x 3/4″

(Scraps of Whisper White and Silver foil sheets)

Project Product List: (Just click an item below to order.)

WEEKLY

Weekly Deals are good October 13, through October 19, 2015 or while supplies last.

Thanks for stopping by!
name sig

Delicate Ornament Christmas Card

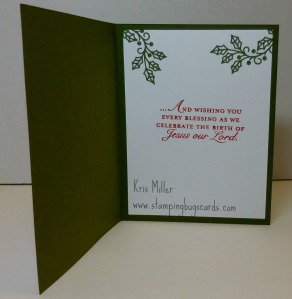
ornament christmas                inside

I am loving this Delicate Ornament stamp set with matching thinlits.  As you may have noticed, I am using it a lot. In fact, Check back Tuesday for another card totally different but with this same set. 🙂

Card Stock Sizes:

Mossy Meadow Card Base 8 1/2 x 5 1/2″ scored at 4 1/4″  and 4″ x 3/8″ #133676

Merry Moments DSP 5 1/4 x 4″  #139595

Product List: Just click the item to go to my online store. 

Thanks for stopping by!

name sig

Ghirardelli Christmas Box Video & Weekly Deals

Christmas Box box band

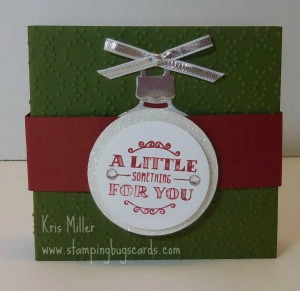
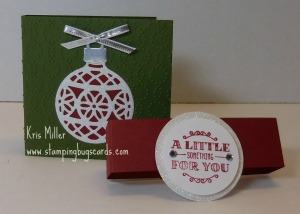
Photo on the left is with the belly band on. On the right is with the belly band off.

I made this box specifically for Ghirardelli chocolates. These are my most favorite chocolates and I love to give them as gifts. This box is perfect for gifting to anyone you want to give a little something to without spending a lot of money but still show appreciation. (Mail carrier, hair stylist, teacher, etc.)

Supplies used:

(Click item number to go directly to the item in my store.)

Mossy Meadow Cardstock 3 1/2 x 4 1/2 & 7 1/2 X 3 1/4″  #133676

Cherry Cobbler Cardstock 1 x 9 1/4″  #126966

Dazzling Details Glimmer Paper (scraps)  #135315

Silver foil Sheet (scrap)  #132178

Whisper White Cardstock (scrap)  #100730

A Little Something stamp set  #139827

Delicate Ornaments Thinlits Dies  #139667

Silver Ribbon  #132137

Elegant Dots embossing folder  #138287


WEEKLY

Weekly Deals are good October 6, through October 12, 2015 or while supplies last!

Thanks for stopping by!

name sig

Christmas Bag/Box Video & Weekly Deals

bag box

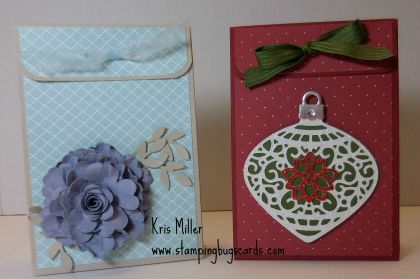
Todays post is a bag/box that I believe was designed by Sam Donald. I was wanting to make something with this new Delicate Ornaments Thinlits and this bag was the perfect fit. All supplies and dimensions are listed below.

If you are having trouble viewing the video watch it on YouTube HERE.

Paper:

Cherry Cobbler Card Stock  10 1/2 x 8 3/8″  #119685

Dazzling Diamonds Glimmer Paper (scrap) #135315

Silver Foil Sheet (scrap) #132178

Mossy Meadow Card Stock (scrap) #133676

Merry Moments Paper Stack 4 3/4 x 3 1/4″ & 1 x 3/4″  #139595

Other Supplies used in the video:

Glitter Queens Blog Hop Day One of Three

bloghop


large lolly

I am SO excited! This is my first blog hop to participate in. My team members, “The Glitter Queens,” invited me. This will be a 3 day blog hop so be sure to stop by tomorrow and Wednesday to see what special items we’ve chosen for you.
hanging

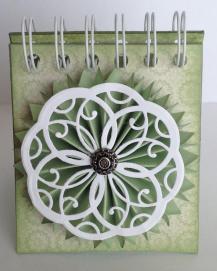
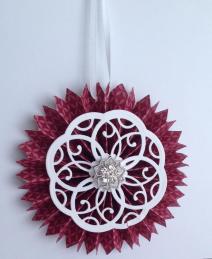
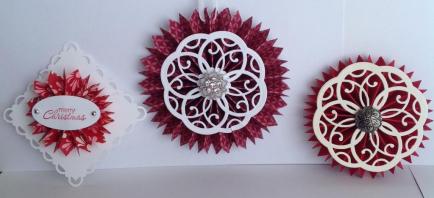
I love, love, love, to make Lollies or Rosettes. This past Christmas I made a lot of them. I added ribbon and hung them on gifts (see photo above), I did a class for them, and I handed them out and decorated my tree with them. Everyone loved them!
gift trio

Unfortunately, I only have a few left and I didn’t take pictures of the ones I gave away.
square

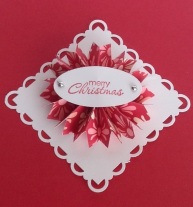
They don’t all have to be round!  (As I placed this on the red background to take a picture today, I thought, “What a pretty card this would make.”)
first postit

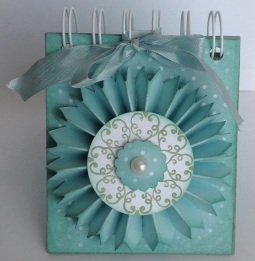
Also this past Christmas I made a bunch of Post-It note holders out of chip board and coasters. I made so many in fact, that I still have quite a stash of them. The one above is my very first one. I cut the chip board and sanded and inked the edges. It is quite a lot of work unless you are only going to do one or two. I made quite a few this way until my coasters arrived!
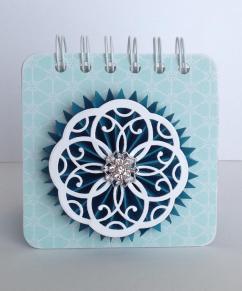
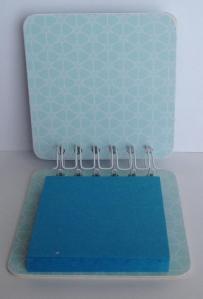
teal rosezette  tealpostit inside

The coaster Post-It note holders were easier since they were already cut. This shows the inside. The 3×3″ Post-It notes work great.
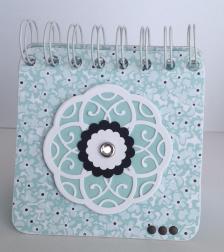
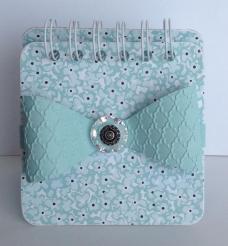
teal no lolly  bow

The two above aren’t decorated with Lollies but are just as pretty.
eggplantpostit  green

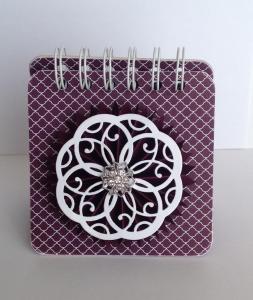
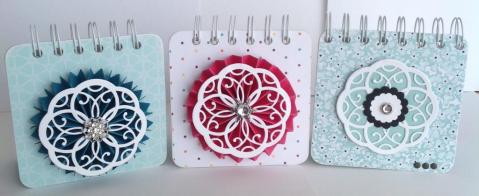
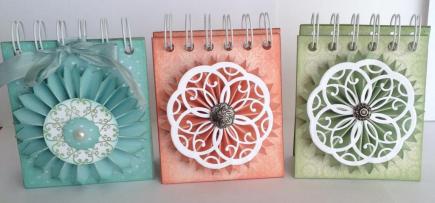
It is so much fun trying different patterns of paper. Also, decorating the tops with different embelishments.
3 lollies


lollies

This is a good way to use up some of that retired DSP you have. I used the Stampin’ Up! Rosette bigz XL die to make my Lollies but you can also get the same affect with the score board. Just score every 1/4″. I used 2 strips about 11 1/2″ long and 2″ wide to make 1 Lolly for my Post-It note covers.

So are you ready to see what the next person on the blog hop has in store for you? Just click the “Next” button below. There is also a list of participants and you can go directly to their blog by clicking on their name.  Thanks for stopping by! Please come back tomorrow. I have more fun stuff planned for you!

Dawn Griffith

Jennifer Kay

Dee Slater

Sue Novick

Tracy Bradley

Kris Miller

bloghop      next    previous


My Christmas Cards

original close up

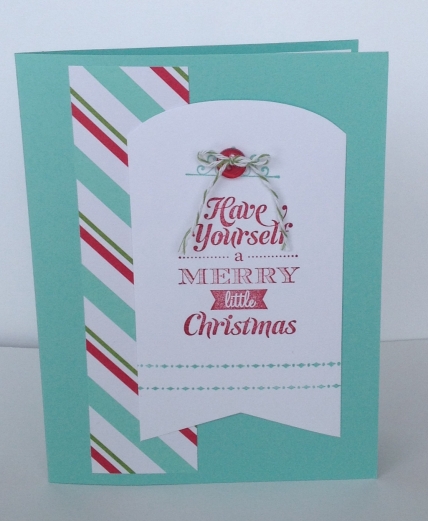
When I saw this “Merry Little Christmas Simply Created Card Kit” in the Holiday catalog I knew this was the card I wanted to make for my Christmas cards. But, I make about 75 cards. And at $9.95 for 8 cards that would be about $93.00 to make all of my cards from this kit… A little pricey! So, what I did was, I cut the DSP that came in the kit in half. I was then able to stretch the kit to make twice as many cards.

my version

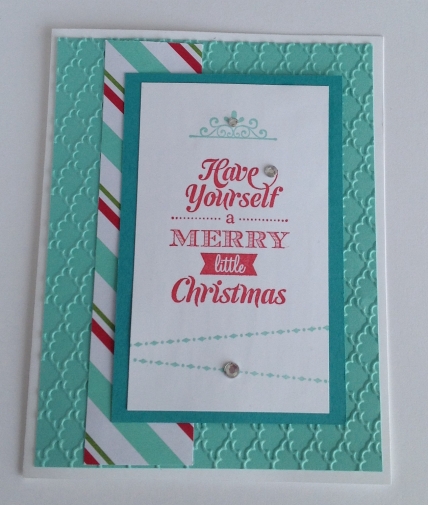
This is my version with the DSP that I used from the kit. I think they both turned out very nice. I have gotten lots of compliments on them. In my version I used Whisper White, Costal Cabana & Island Indigo card stock. I also used Basic Rhinestones and the Fancy Fan embossing folder.

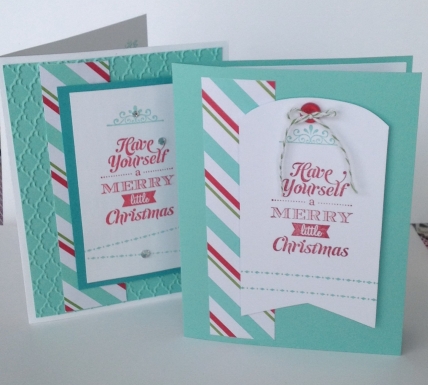
my cards

They are very similar yet very different.

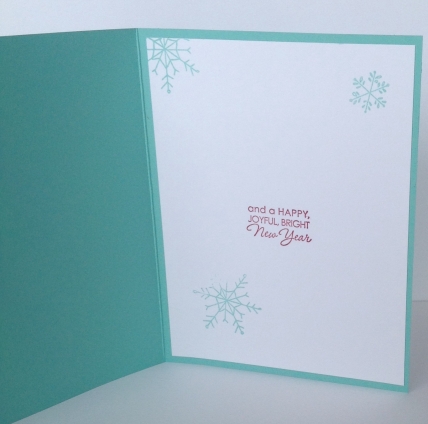
inside

Inside I stamped the Festive Flurry snowflakes with the sentiment. I would love to hear your comments so if you leave a comment on this post I will send out cards to 5 people. Thanks for looking!

Hubby’s Card

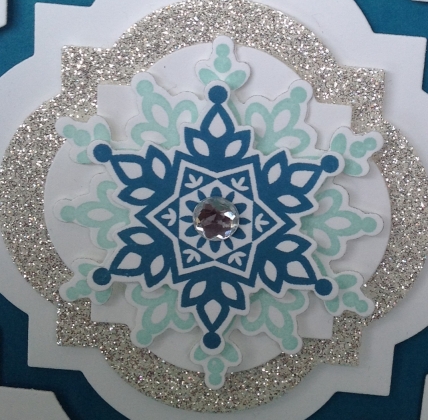
close up snowflake

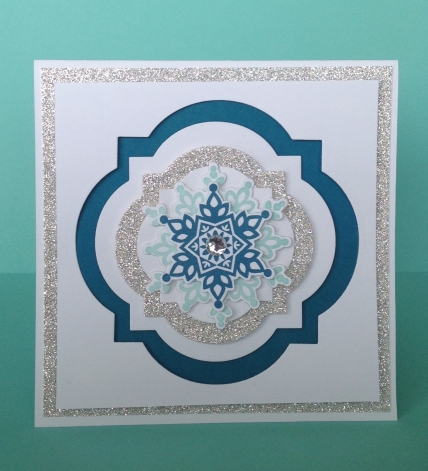
This is the card that I made for my husband for Christmas. I saw this card on Pinterest and fell in love with it! I didn’t change anything from the original. It was so beautiful that there was nothing to change. It uses Whisper White & Island Indigo card stock and silver Glimmer paper. Also used was the Festive Flurry stamp set and matching framelits dies as well as the Window Frames dies. There is a lot of layering and cutting on this card. It’s not a card I would want to make a lot of but for that special someone it is well worth the effort. It measures 5 1/2 X 5 1/2″.

vern's card

I love bling and Stampin’ Up’s! glimmer paper really delivers. So much prettier in person.