Archive | April 2014

Easter Treats

lg top

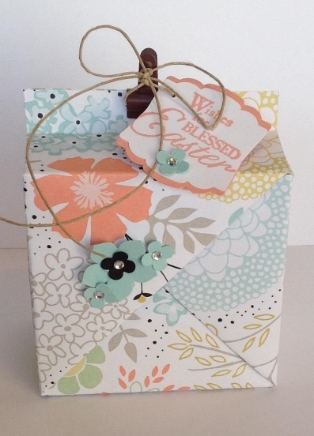
I wanted to give my club ladies a little treat for Easter. And when I saw this origami box made by Elaine Jackson, I knew that this was the perfect container I was looking for.

box

This was super easy and quick! It took longer to do the tag then it did to fold the box.

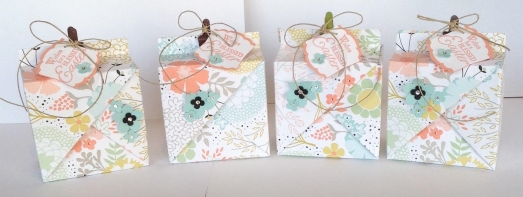
4 boxes

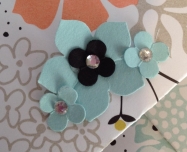
I did one while watching Elaine’s video. After the first one I was able to do the rest on my own. This paper is from the Celebration catalog and no longer available. It’s called Sweet Sorbet. I absolutely love this paper. If fact, I like so much that this was the first time I could bring myself to cut into it! (: It made such beautiful Springtime Easter boxes. This box has no glue. It’s held together just by how it’s folded. And I added a clip to the top for easy access. The clip also makes it possible to re-use the box. Another fun project from Elaine. Here is a link to her website.

moms

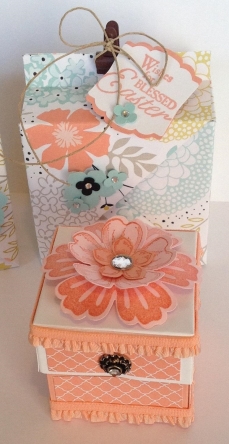
Since I’m posting my other boxes, I wanted to post this little box that I made for my mother. I was very busy this weekend! (: This box is Sam Donald’s design. If you scroll down to my post of February 3, 2014, you will find the video to make this cute little box. Enjoy!
Easter Baskets

large loly
I have 4 grandchildren and when I saw Elaine Jackson’s video on how to make these origami baskets, I knew I had to do them for my grandchildren.

4 undecoratged
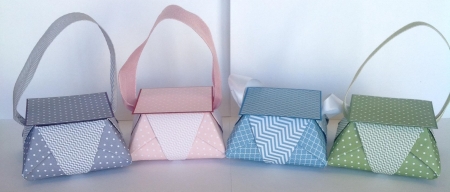
Here are the baskets before decorating. I think they look beautiful just as they are but, I couldn’t help adding a little bling to them. I knew that I wanted some type of handle for lifting off the lids and this worked out great.

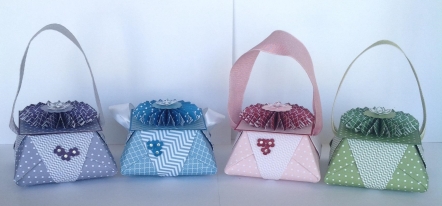
all 4
They are actually quite easy to make but with all the embellishing and fussing I did to them, it took me about 5 hours time. Of course I had a ball doing them so the time didn’t really matter. And I was so excited to see the grandkids’ faces when they saw them. The 3 girls are teenagers (actually one just turned 20) and loved them! They want to use them as jewelry boxes. My grandson is 10 and although he liked it, the candy was more important to him. (:  His is the green one so I left off the flowers on the front and didn’t pretty it up quite as much as the girls.
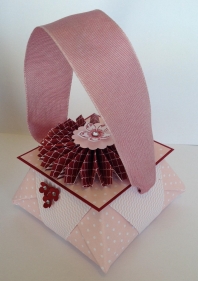
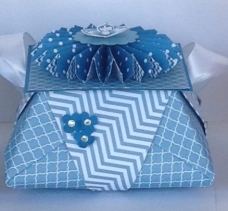
lg purplelg pinklg blue
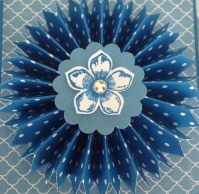
The blue basket was the only one that didn’t have Stampin’ Up! Ribbon for handles and it was the only one that wouldn’t stay up. This shows the great quality of Stampin’ Up! ribbon. The Rosettes on top were made with the Stampin’ Up! Designer Rosette Bigz XL die. This die is a little pricey but but well worth the money. I use it for all occasions.
wrapped

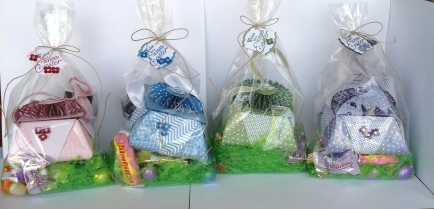
Here they are wrapped and ready to be delivered (which I did yesterday). The baskets are full of candy too. Can you believe I forgot to take pictures of the kids when they opened them!!!? Oh well, what a fun project! If you want to give it a try visit Elaine’s website. Thanks for stopping by. If you have any questions, let me know.

Easel Card Meets Box in a Card

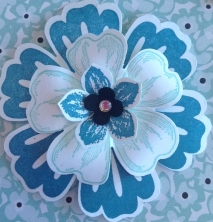
lgflower

At the beginning of March I posted an Easel Card that I’d made. Well, now I want to share the Box in a Card that I made.

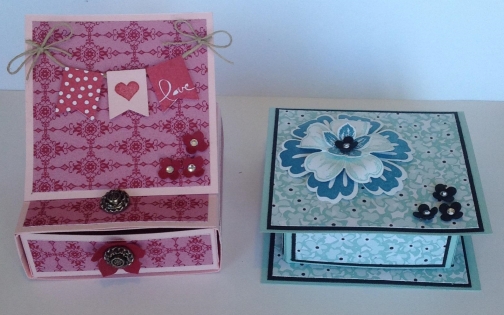
sidebyside

Instead of being a card on top of a box, it’s a box inside a card. I didn’t come up with this idea but thought it was genius! The credit for the box pattern goes to Elaine Jackson.

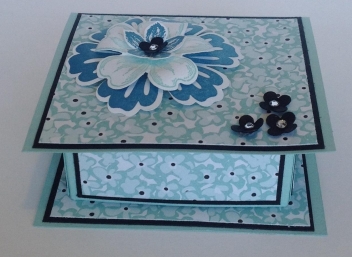
box

This is the card closed. I used the DSP, Sweet Sorbet from Stampin’ Up!.

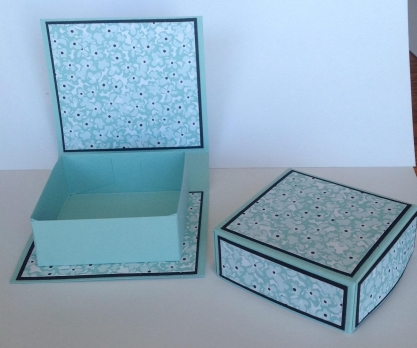
openbox

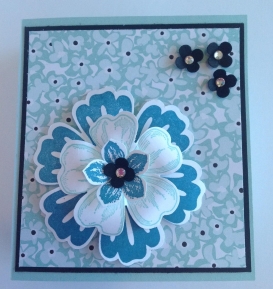
And this is the card opened with the box top off. I don’t have a picture of the finished card but where the card lifts up I stamped happy birthday and punched it out and layered it there. I signed our names on the binding just under the Happy Birthday.

boxtop

This is a top view. I love how Stampin’ Up! makes their punches and stamps to fit together.

The pattern for this box can be here. Thanks for stopping by.

Matching Desk Set/Organization

lgheader

It has been such a bitter cold winter. My dining room table has been trashed for months with my crafting supplies as it was just too cold to try to heat my craft room. Well, it’s finally warm enough to move back into my craft room. YAY!

bookcase

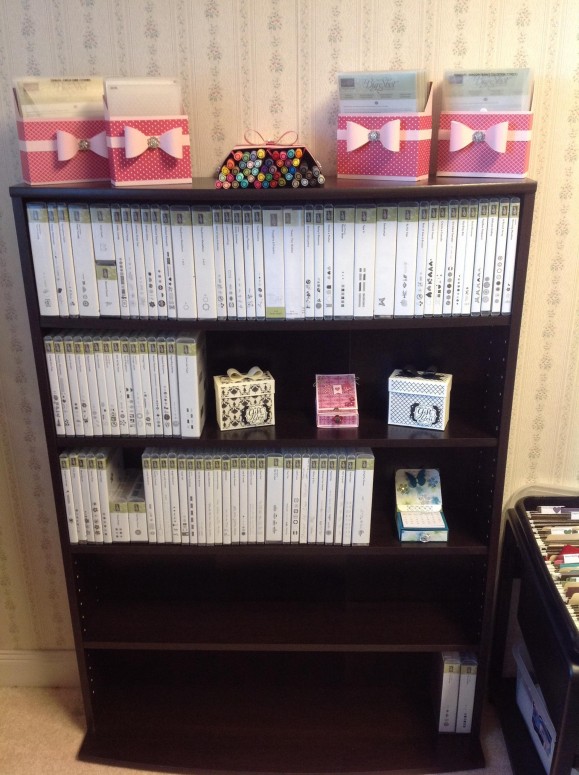
I purchased this shelf from Amazon.com this winter and I am absolutely loving it! Since becoming a Stampin’ Up! demonstrator, I have acquired so many stamp sets that I was running out of room. (I know what a terrible problem to have.)  This shelf was the perfect solution. It houses all of my newer stamp sets and has lots of room to grow. I am in the process of converting my older stamps into Stampin’ Ups! newer cases. Then all of my stamps will look great and be easily accessible.

markerstraight

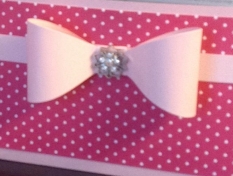
These boxes were made from Sam Donald’s patterns (she is a master at boxes). They hold my embossing folders, Framelits, and Stampin’ Write Markers. I had already made the embossing folder one and when Sam came out with the marker video last week, I decided to make a matching set. The embossing folder box was originally made to hold cards. So, 2 uses for one pattern!

marker side

I purchased my Stampin’ Write Markers in the full set, so I have the case that they come in. But I just love this storage idea that Sam came up with.

lgframelits

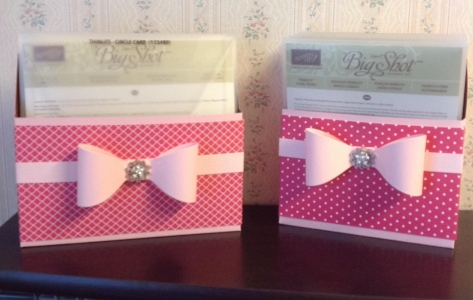
I made the Framelits box a little wider to be able to put my larger framelits (envelope inserts die) and Thinlits Circle Die. It is pictured on the left.

Here are links to Sam’s videos:
Framelits
Embossing Folder
Markers