Archive | September 2014

Storage Tip #4 (Bling & Adhesives)

image

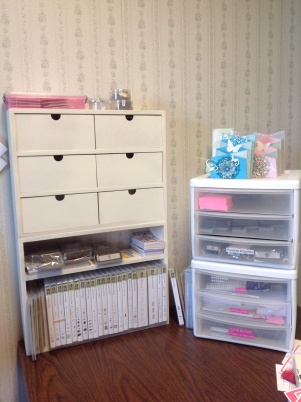
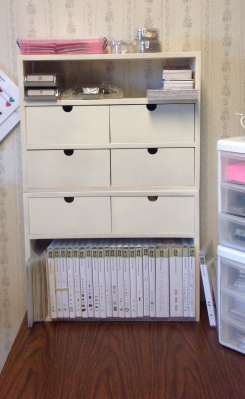
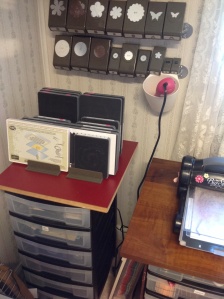
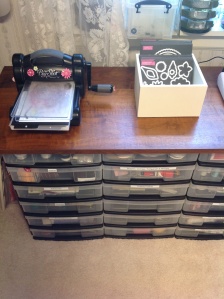
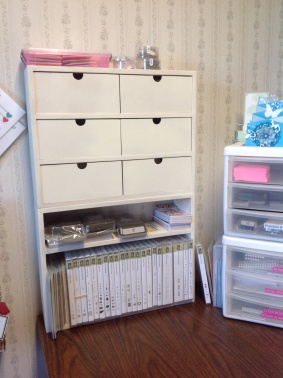
This is acutally 2 units. The six drawer unit and the standard shelf are both from Stamp N Storage. When I purchased them I knew where I wanted to put them but didn’t know yet what I would put on/in them.

image<

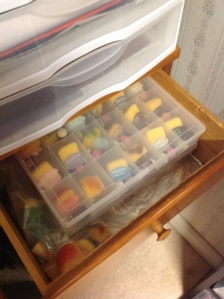
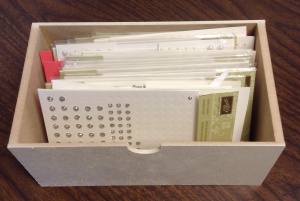
The drawers are the perfect size for my Basic Rhinestones & Pearls and Candy Dots. I use these on almost all of my projects.

image

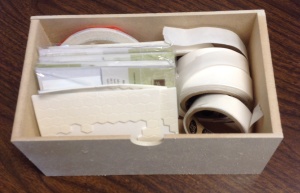
They are also great for my Stampin’ Dimensionals, extra glue dots & sticky strip. I love having these items close at hand and easy to access. And best of all they don’t get lost on my desk. I just pull the whole drawer out unitl I’m finished with them.

image

I found that the bottom shelf is perfect for keeping my current Holiday Catalog items separated from all the rest. Since I will be using these items the most I was thrilled with this!

image

I discovered that the space on the top shelf of the Standard Shelf is the same size as the drawers. So, I can move my drawers around and make my small shelf be anywhere I want it. No, I don’t work for this company. Just love their products. And even though they’re a little pricey, their products are so worth it. And with free shipping, you can order 1 or 2 at a time as you can afford to.
Some Thank You Cards

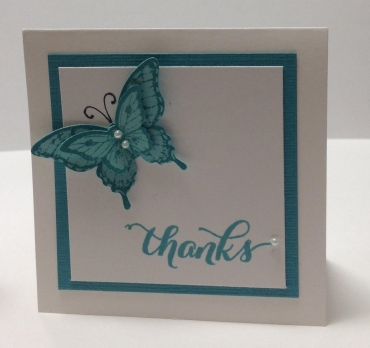
lgbutterfly

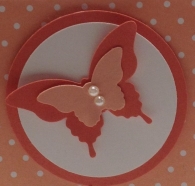
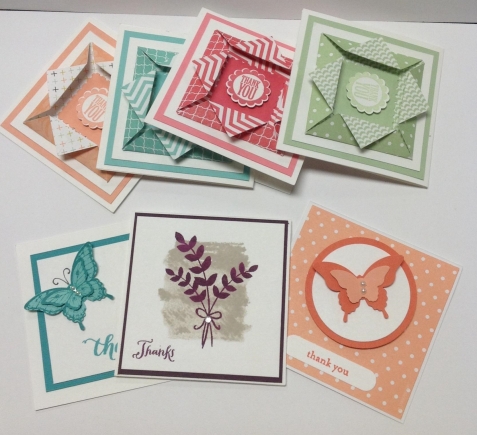
I love making 3″ X 3″ thank you cards for my customers. And they like it too! Here are a few I’ve made recently.

costalbutterfly

This one is Costal Cabana.

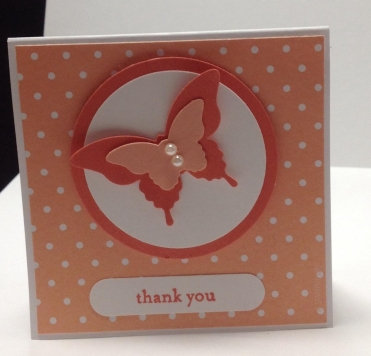
crispbutterfly

Crisp Cantaloupe and Tangerine Tango

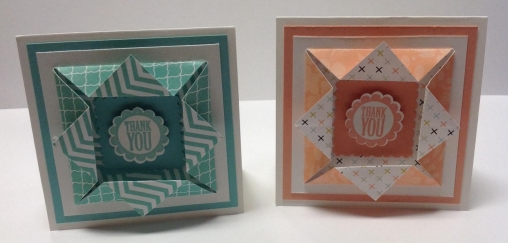
crispcostl
Crisp Cantaloupe and Costal Cabana. These cards were inspired by Dawn Griffith.

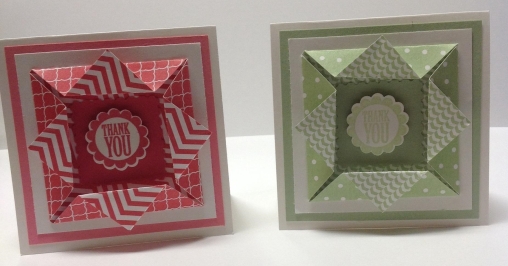
strawpastacio
Strawberry Slush and Pistachio Pudding

wheat
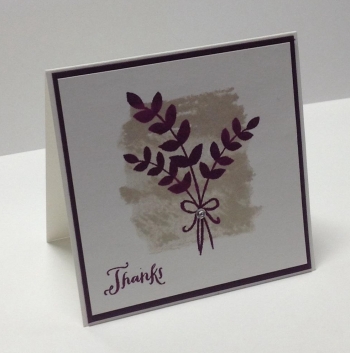
Blackberry Bliss. I love this new stamp set…

group

These little cards are so much fun to make. I put a card and envelope in each order. I don’t sign them so that my customers can recycle them.

Storage Tip #3 (Part 2) Dies

BIGZ DIES

image

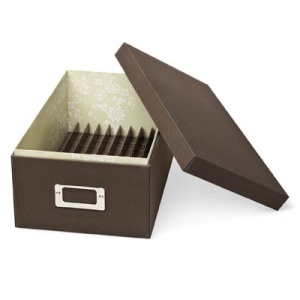
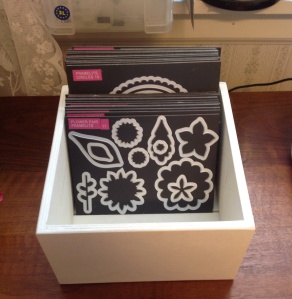
I had no good way of storing my Bigz dies. So, they all ended up in a file drawer. And of course the one I wanted was always on the bottom. I ordered this box from Stampin’ Up!. It’s a storage box made just for the Bigz XL dies. Inside the box are 2 inserts. The inserts are not glued down but come with adhesive strips.

image

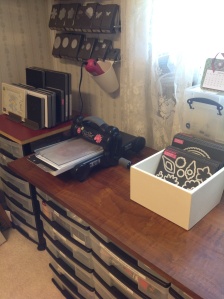
I decided that I didn’t want to store my dies inside the box. I wanted to be able to see them. So, instead of placing the inserts inside the box, I placed the inserts on top of an Iris cart that sits right next to my Big Shot. (I didn’t use the adhesive strips.) I LOVE IT! Not only are my dies easy to get to but I am also able to keep my Magnetic Platform there also. When I’m using my Magnetic Platform I can keep my Multi-Purpose platform in that spot. I like this even better than the storage of the dies.

image

I had to place some of the dies so that the labels didn’t show. So, I relabeled them. And I put a pink square to the right on the retired dies.

image

image

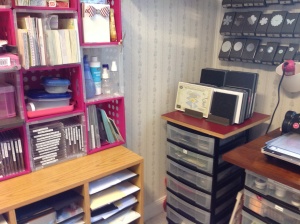
All of my dies are visible and within arms reach of my Big Shot.

Be sure to check back soon to see my storage solution for Stampin’ Dimensionals, Sticky Strip & Basic Pearls & Rhinestones.

Storage Tip #3 Dies (Part 1)

FRAMELITS, THINLITS & EDGLITS
If things are not easy to get to, I tend not to use them. Searching through my Framelits, Edglits & Thinlits to get the one I’m looking for was time consuming. And then I had to get them out of the package and pull them off the tape that they are stuck to, without bending them.

image

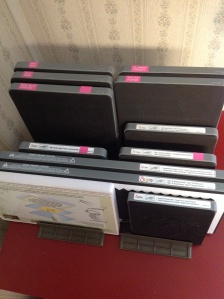
So, when I saw this storage solution from Stamp N Storage I was thrilled! Until I saw the price. Then I saw that I could order the magnetic boards in a bundle with the box and that made it more affordable. Still pricey but better. I have to say that they are worth it. The magnets are strong and I don’t have to worry about my dies falling off like I did when I tried using heating vent covers. (Be sure to click on the pictures for a close up view.) This one is the medium size. I have just a little over 20 sets in it. So, lots of room to grow!

image

I have labeled all of my dies and added the number of dies in the set. I can easily flip through them and best of all, I can store them right next to my Big Shot. I love it!

SPELLBINDERS

image

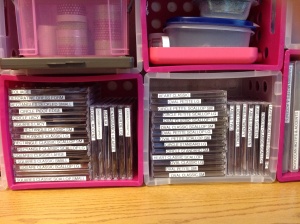
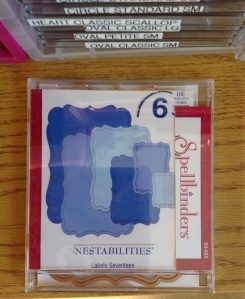
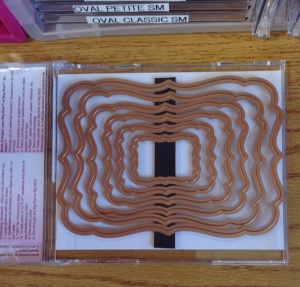
I rarely use my Spellbinders anymore. But when I do this system works great for me. I put strips of magnet inside CD cases and added the dies. I labeled the sides so that I could easily see them.

image

(Outside of CD case.)

image

(Inside of case.) The Stampin’ Up! die sets are too big for CD cases. In my next post I will show you how I store all my Bigz dies. It’s awesome!

Storage Tip #2

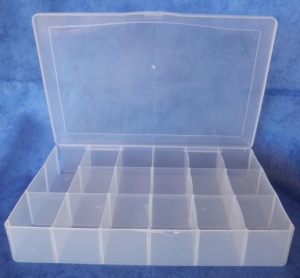
For years I have wanted a way to organize and store my sponges and daubers. They were all kept in a drawer and I had to hunt to find the one I was looking for.

image

I found this case at Amazon.com and ordered 2. I wasn’t sure when I ordered them if they would work for my intended purpose or not. But since they were quite inexpensive, I took a chance. I am so glad that I did.

image

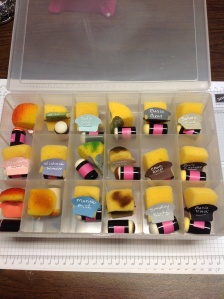
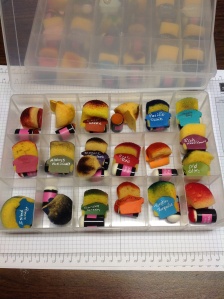
All of my sponges and daubers fit perfectly. I have 1 sponge and 1 dauber dedicated to each of my Stampin’ Up! ink pads. I used my labeler to label all of the daubers and I punched out a piece of matching card stock and stapled it to the corresponding sponge.

image
What a transformation! I wish I’d thought to take a picture of the “before” messy drawer. (To see a close up of the photos, just click on them.)

image

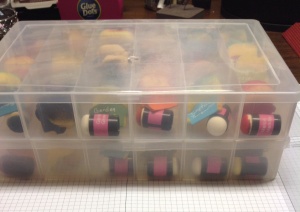
I keep the cases together in a drawer. It’s so nice when I need one to be able to pull out the cases and have them organized. Here is a link to the cases on Amazon.

image

They stack and tuck neatly into a drawer. My next storage tip will be how I store my Framelits, Thinlits,Edglits and Spellbinders dies.

Storage Tips

image

One of my favorite storage items!

image

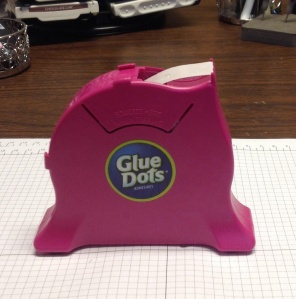
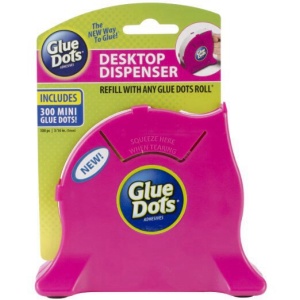
I’ve been spending a lot of time getting my craft room more organized. I love being organized. I find that I am more creative and have more fun when everything has a place. Of course that doesn’t mean that my desk area is always perfect. Far from it, actually. When I start crafting, things seem to explode on my desk! This is why I love my new glue dot dispenser. They don’t disappear or get buried on my desk anymore.

image

I found this dispenser on Amazon.com. The cost was $8.99 and it came loaded with a roll of 300 glue dots. I will be able to refill it with my Stampin’ Up! glue dots when it runs out.

Lion Birthday Card

lionface
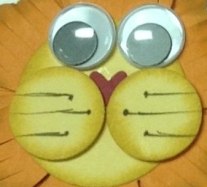
Inspired by Pinterest…

lions
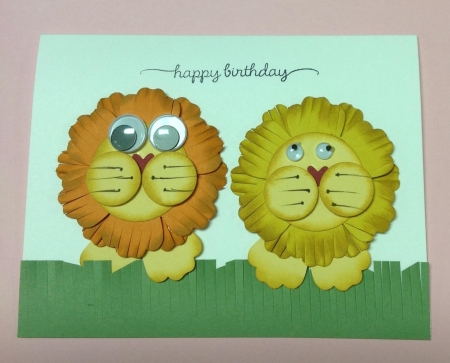
When I saw this card, I just had to make one. My nephew’s birthday was the perfect opportunity. It uses punches and fringe scissors. I only had 5 googly eyes, 3 small & 2 large. Thus the odd eyes. But I think they turned out cute anyway. What would we do without Pinterest?!

Foget Me Nots?

lg blue

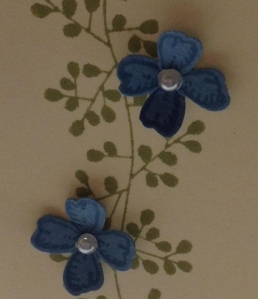
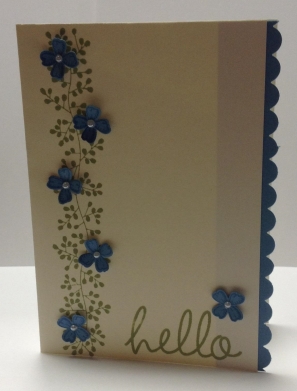
This card reminds me of Forget Me Not flowers.
blue flower card

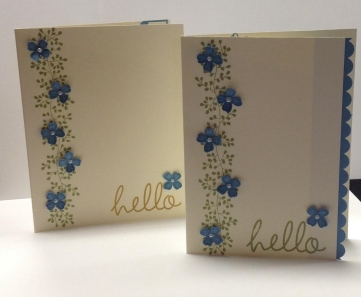
This was inspired by Connie Stewart. I love the blue! She also did a Christmas version that I love. A simple yet pretty card that can be made in just minutes with only a few supplies.

myblue
I added the blue scallops at the side just to change it up a bit.